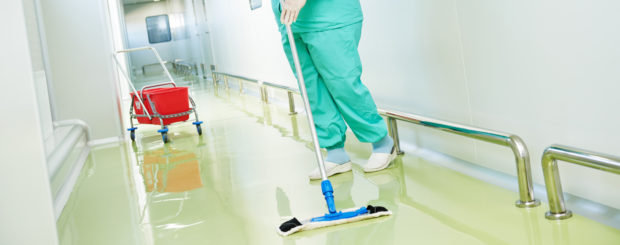
Floor Stripper Procedure
Floor stripping is the removal of a floor wax and/or sealant. Before a floor finish is applied, stripping is required to ensure better results in floor care maintenance.
For a proper floor stripping procedure, start with sweeping the floor to remove debris. If there are labels or anything sticking to the floor, be sure to scrape them off. Have “wet floor” signs in place to avoid foot traffic and to warn caution. Prevent floor stripper from getting on any neighboring floors by using a flat piece of cardboard to step onto. Place it next to the floor being stripped and use the cardboard to wipe the bottom of your shoes.
Use a wringer bucket to pour the floor stripper into. With water, adjust the dilution proportion based on the amount of floor build-up that is being stripped. Choose a mop that is to be used for floor stripping only. Dip the mop into the floor stripper fluid and do not wring out. Allow the stripper to pour onto the floor and begin coating. For a larger floor area, split into sections and strip each section separately.
Allow stripper to react with the sealer for 5 to 10 minutes. Do not allow the stripper to dry but if it happens, spread the floor with the mop. Make sure the floor is evenly wet. Use a mop to spread stripper if it runs. After the 5 to 10 minutes is finished, use a floor scrubbing machine or auto scrubber equipped with a rotary stripping pad and begin stripping the floor.
Once stripped, use a putty knife or a similar object to test if the sealer was removed by scraping the floor. If there is sealer film scraped off, stop scrubbing. If there is no sealer scrapped off, scrub the floor again. Wet vacuum the remaining floor stripper. Rinse by pouring clean water onto the floor and vacuum afterwards and allow the floor to dry. For our Multi-Clean line of floor care products, visit our website here.


